This article on React Native assumes previous knowledge on React so there will be concepts that come from React.
Getting Started with React Native
Before you get started: This article on React Native assumes previous knowledge on React so there will be concepts that come from React. While reading please refer to the Demo repository I made previously. Also, read my previous blog on React basics if you need a refresher.
React Native (RN) is:
- Cross-platform, native iOS and Android apps without web views
- Mainly focused on the front-end. Uses React JavaScript
- 100% access to native APIs via JavaScript and reuse of packages from NPM
- Backed by Facebook
React Native Approach
There are React native specific components such as <View> and <Text>. RN is a real mobile app. It also uses hot reloading.
It also gives you the options to go native and inject out Swift/Java should you need. Although most of the time you shouldn't do it.
How RN works

Android has (V8 JS) and iOS (JS core), RN has the bridge that then implements its framework with JS. RN then spits out native code when we are ready to build with the export SDK.
Getting Started: Using Expo (Preferred)
First read React Native docs.
Then, to get everything running you should install Expo at expo.io. Expo will ensure you can test app on mobile straight.
After installation. To start directly with a new expo app use expo init projectName then do expo start. You can also clone the source code repository. Then just do npm install and expo start.
From here, you'll need to download the mobile app version (either in AppStore or GooglePlay) of Expo and create an account. Once in the Expo app just scan the generated QR code and you're up and running!.
RN Project Structure
Similar convention with React but no index.js. App.js also is your entry point.
Also note the inline based styling different from React. StyleSheet is imported from RN like JS to apply styles that you can reuse. RN uses flexbox CSS.
React Native Components
These are just like React components!
- All the features of React components: state, props, JSX, etc.
- It uses native components instead of web components in building the view
- We also use an all-in-one UI kit for creating apps in react native!
- It provides several useful UI components
- Useful in designing the UI for your app
There are some primitive RN elements such as the following:

As you follow along don't forget to download and run the following repo here. Again, if you navigate to App.js, you'll notice StyleSheet.create, this is optional and you can also pass styles inline just like in React.
You might also notice how when you need to return more than one element you need to wrap it in a single element in this case we can do it in a <View>.
Implementing React Native Elements
The following example uses FlatList from 'react-native' and ListItem from 'react-native-elements'.
If you check on the repo, you'll see the <ListScreen> component. There you'll identify the React Native's FlatList Element:

So FlatList does optimizations for you for the mobile world when lists become big. Here the FlatList reminds us just like React that key is important. 'Keys' are important when this list is changed, RN will have to rebuild the entire list if we don't specify the key. Keys optimize and RN will re-render only what it needs.
FlatList properties:
horizontalwill make list horizontal. Only need to add keywordhorizontalas Flatlist element prop.- To hide horizontal bar below just have
showsHorizontalScrollIndicator={false}
RN Navigation
Extensible and easy-to-use navigation solution. React Native Navigation supports navigational features. We can have common views of a navigational menu, with stack based pages we commonly see on mobile apps.

To install read documentation here.
Note: You might notice the newer version of RN Navigation has different implementation.
Features:
- It automatically adds back bottom.
- Provides support for transition between screens
Manages navigation history
- Similar to web browser
Provides the gestures and animations when navigating between routes in the stack
- Enables you to go back, tied to Android back button
Two Types of Buttons for Navigation

We add the text as string and use the onPress attribute. Remember Button element is self-closed. Out of both for navigation we recommend TouchableOpacity element if you need more customization.
Implementing Navigation
We implement navigation on RN with React Navigator. In App.js we see how it uses the createStackNavigator() method. Depending on the version of React Navigator the way you implement it might change.
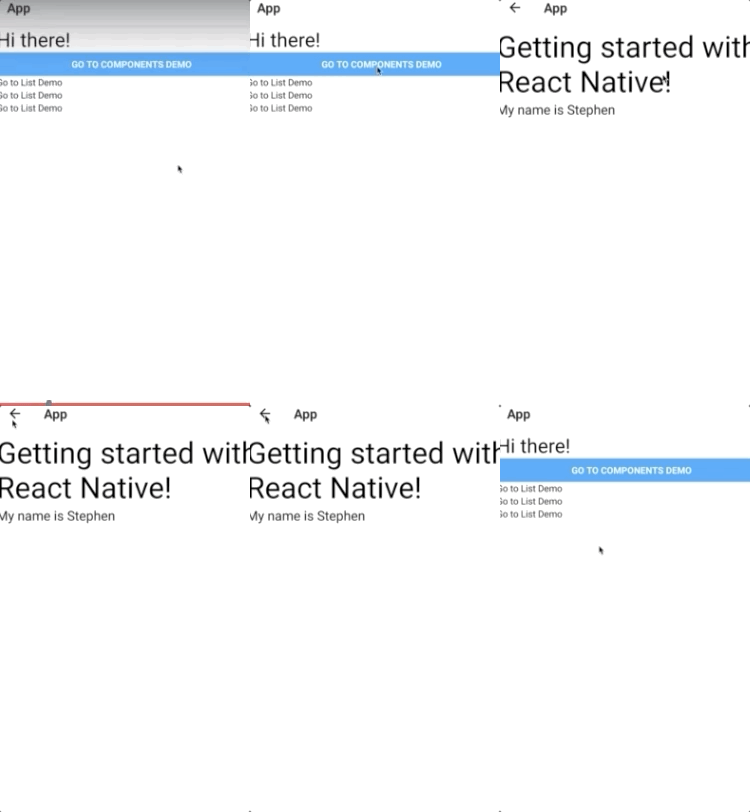
With props passed by the stackNavigator() we can tell what to show or not on the screen. To access the navigation object you access it by props.navigation. On the included props.navigation.navigate() method we can pass in the screen we defined on App.js and it will render the component we want! It is easy as:
onPress={() => props.navigation.navigate('ComponentName')}
And voilà! This takes us to the basic navigation and UI display with React Native!

React Native - Further Reading
- 15 React Native App IDEAS: BEGINNER TO EXPERT
- React Native Architecture : Explained!
- Reactive Core architecture for React Native and React applications
- How Does React Native Work?
- React.js Conf 2015 Keynote 2 - A Deep Dive into React Native
- Hybrid Mobile Apps: Providing A Native Experience With Web Technologies
- Native, HTML5, or Hybrid: Understanding Your Mobile Application Development Options
- Mobile Frameworks Comparison Chart
- 40+ CROSS PLATFORM DEVELOPMENT TOOLS FOR MOBILE APP AND GAMES
- Components and APIs
- View
- Text
- Flatlist
- Stylesheet
- React Native Elements
- React Native Elements 1.0.0-beta5 Documentation
- RNE List Item
- RNE Card
